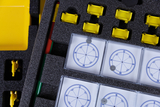
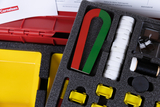
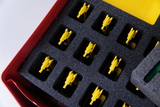
Students kit Magnet and compass
Lessons about magnets
Children learn about the properties of magnets. Half of the bar magnets in the kit do not have pole marks so that the children learn to determine north and south poles for themselves.
Lessons about the magnetic compass
Experiments with suspended or floating magnets lead to an understanding of how compasses work. Children also learn to assemble their own compasses and to use them properly.
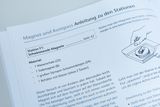
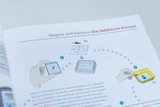
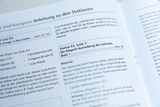
Teacher’s manual ‘Experiments in workstations: Magnet and compass’
With copy templates covering 24 workstations.
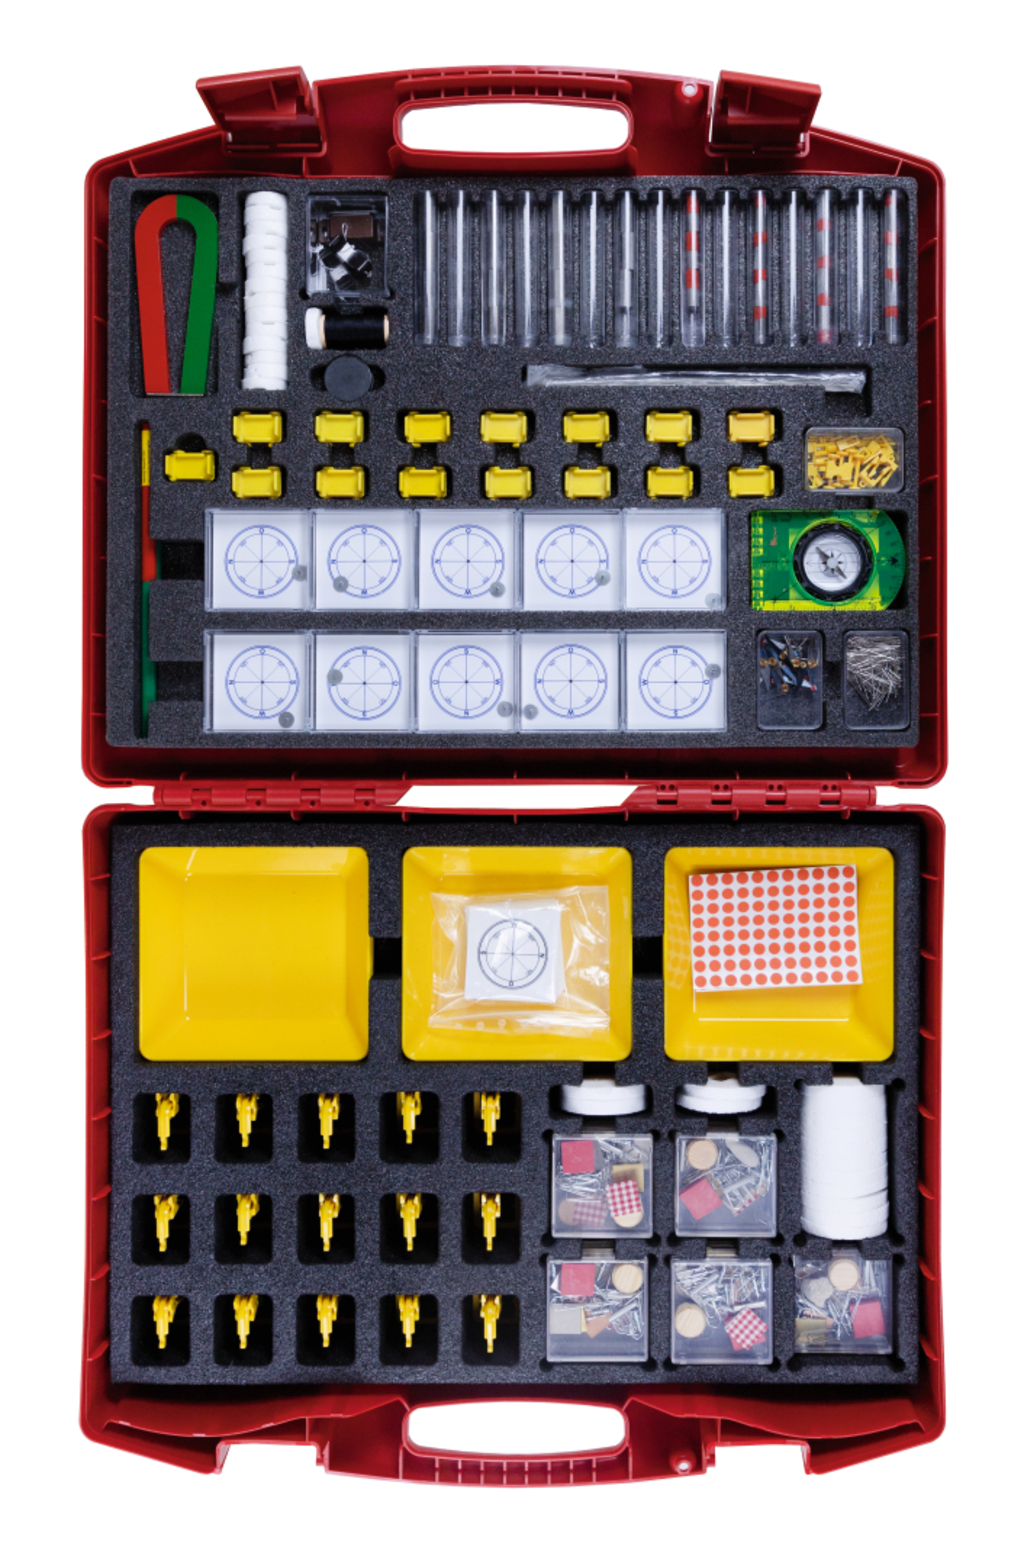


Technical specifications
Size of kit: 540 x 450 x 150 mm
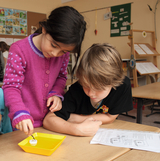
To start, some students demonstrate the fishing game they brought along. The other students describe the game and discuss the question of why the fish get stuck in a class discussion. Once the term "magnet" is mentioned, it is written on the board. Students are given the opportunity to comment on other magnet games.
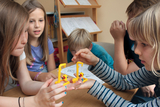
Before the students are asked to perform specific, targeted experiments with the materials, it is advisable to let them play around with the experimental materials (magnet and set of small materials) for a while and experiment freely. If the urge to play and occupy themselves with the materials is released in this way, the following lessons can then proceed more undisturbed. It does no harm if the students already find out and anticipate some results during this free experimentation, which are then confirmed later in the course by the required experiments and fixed on the worksheets.
In this topic, the concept of "force" in connection with magnetic force is to be worked out in a descriptive manner appropriate for this age level.
In the following experiments, the students are free to choose the order of the materials. When checking, they sort the test objects according to whether they are attracted or not attracted by the magnet.
In the following experiments, the students are free to choose the order of the materials. When checking, they sort the test objects according to whether they are attracted or not attracted by the magnet.
In the following experiments, the students are free to choose the order of the materials. When checking, they sort the test objects according to whether they are attracted or not attracted by the magnet.
At the beginning of the lesson, the term "copper" must be introduced and the reddish color must be pointed out as a characteristic of this material. In their subsequent experiments, the students come across the surprising fact that a penny is attracted to a magnet.
After the students have investigated the attractive force of their magnet at different points, the results found are discussed. Because of the shortness of the small bar magnet, the lack of attractive force in the middle is not very obvious, but students should notice that the paper clip is always deflected toward the ends of the magnet.
The experiments are carried out with the help of the worksheet by having the students place the paper clip and bar magnet on the pre-drawn spots. Since observation difficulties often arise during these experiments, make sure that the experiments are performed slowly and repeated several times.
In a demonstration experiment, the students show the vehicles they have brought with magnetic couplings or other magnetic toys. Initially, only the property of repulsion is demonstrated when two couplings of the same color face each other. The students repeat this experiment with two bar magnets by trying to push the red marked or black (unmarked) ends towards each other.
The students try to read a map of a country or a city with a compass.
The following laws should be finally recognized and formulated:
1. a magnet attracts iron.
2 A magnet has force (magnetic force).
3 The magnetic force can act through other substances.
4. magnets can attract or repel each other.
It is to be found out that the north pole of the magnet wrapped in paper can be determined with a second magnet on the basis of the visible repulsion or attraction.
The students check the magnetic property of the steel knitting needle using the compass.
In demonstration experiments conducted by individual students, magnetism is demonstrated by dipping the magnets into nails.
From experience, attaching a chain of paper clips to the small student experiment magnets requires some skill; therefore, you can have some good groups demonstrate for the others and stage a kind of "competition."
Each group of students arranges the materials taken from the plastic box on the table according to the order indicated on the worksheet. The materials that are not needed (nails, screws, pins, paper clips, stone, sheet iron) are returned to the can. Using the small bar magnet, students check the materials of their own choice and can record their results.
"How can aviators, sailors, people lost in the forest or desert find their way?"
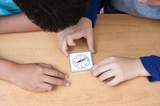
With the help of a demonstration compass shown by the teacher, this prior knowledge is organized and expanded ("What parts does a compass consist of? How does a compass work?").
On the blackboard, the compass indications are arranged by assigning the times of day to the corresponding cardinal points. To facilitate the reading of the old compass, the main cardinal directions and the times of day are also indicated in print.
The students try to find the cardinal points within the classroom.
The students explore the behavior of two magnets.
Two students demonstrate in front of the class with the large bar magnets. The experiment is repeated with a large horseshoe magnet.
The facts are clarified by a demonstration experiment with a freely suspended large bar magnet, which one or two students demonstrate in front of the class. Using the compass rose, the students determine the north-south orientation of the magnet.
The students work in pairs to test the behavior of the compass needle with the small bar magnet in a series of experiments.
- 15 × Test tube, 100 mm, plastic
- Thread holder pin
- 15 ×
- 15 ×
- 15 × Floating platforms for compass needle
- 15 × Floating platform
- 15 × Water dish
- 1 ×
- 1 ×
- 1 ×
- 1 ×
- 1 × Spool of thread
- 3 ×
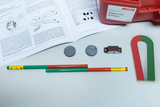
- 2 × Magnet rod AlNiCo, one each half painted red and green
- 2 × Disc magnet
- 1 × Horseshoe magnet
- 1 × Magnetic door-closer
- 1 ×
- 15 × Bar magnets, without mark, 23 mm
- 15 × Magnet rod AlNiCo, north pole marked red
- 2 × Suspending device for bar magnet 200 mm
- 15 × Strips with 22 adhesive dots, red
- 2 ×
- 15 ×
- 15 ×
- 1 ×
- 15 ×
- 10 ×
- 3 ×
- 18 ×
- 15 ×